

We've all done it 1,000 times: you build a new app and need to add dynamic email functionality. But is seem like every time you're re-inventing the wheel; setup a new email provider, install Handlebars (if you're not using handlebars your really should be), logging, etc.
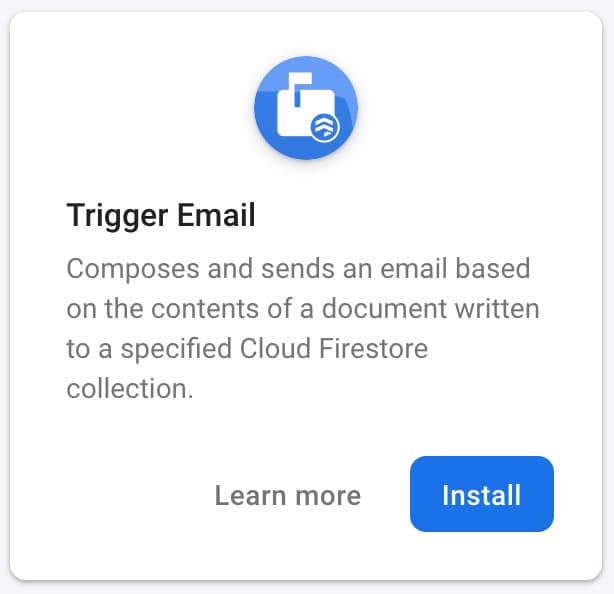
The Firebase team has recently introduced a slightly simpler email process that I found removes about 20% of the pain. It is a part of the "extensions" suite of pre-built functions: Trigger Email Extension. Note: the extension is officially in Beta, but we've been using it at Ayrshare successfully without issue.
The Good, the Not So Good
Before we get into the setup of Trigger Email, I'll highlight what I like about the extension and what is a pain.
The Good
- Easy to setup and make use of.
- Supports text and html emails, plus Handlebar templates.
- Keeps a record of all email in a collection and logs sending/errors.
The Not So Good
- Loss of functionality the email sender provides. For example, Mailgun support delayed sending times. There is no way to do with via the extension.
- Handlebar templates stored in a collection. This requires an extra step to insert/update in the collection. I've forgotten a few times and wondered why my email didn't reflect my latest changes.
- Possible additional costs because you're accessing the database and running a cloud function every time you send an email. If you're sending a lot of emails this could incur a large expense.
How the Trigger Email Extension Works
Quite simply, in fact. You're inserting the email you want to send in the Firestore database and a Cloud Function (provided by the Firebase team) runs on document write. The function takes the email data, applies the Handlebar template (if applicable), and sends it via the email provider you specify during setup.
You can even see the function listed under the Functions tab in the Firebase console.

Setting Up the Trigger Email Extension
- Click on the "Extension" link in the lower left corner of your Firebase console.

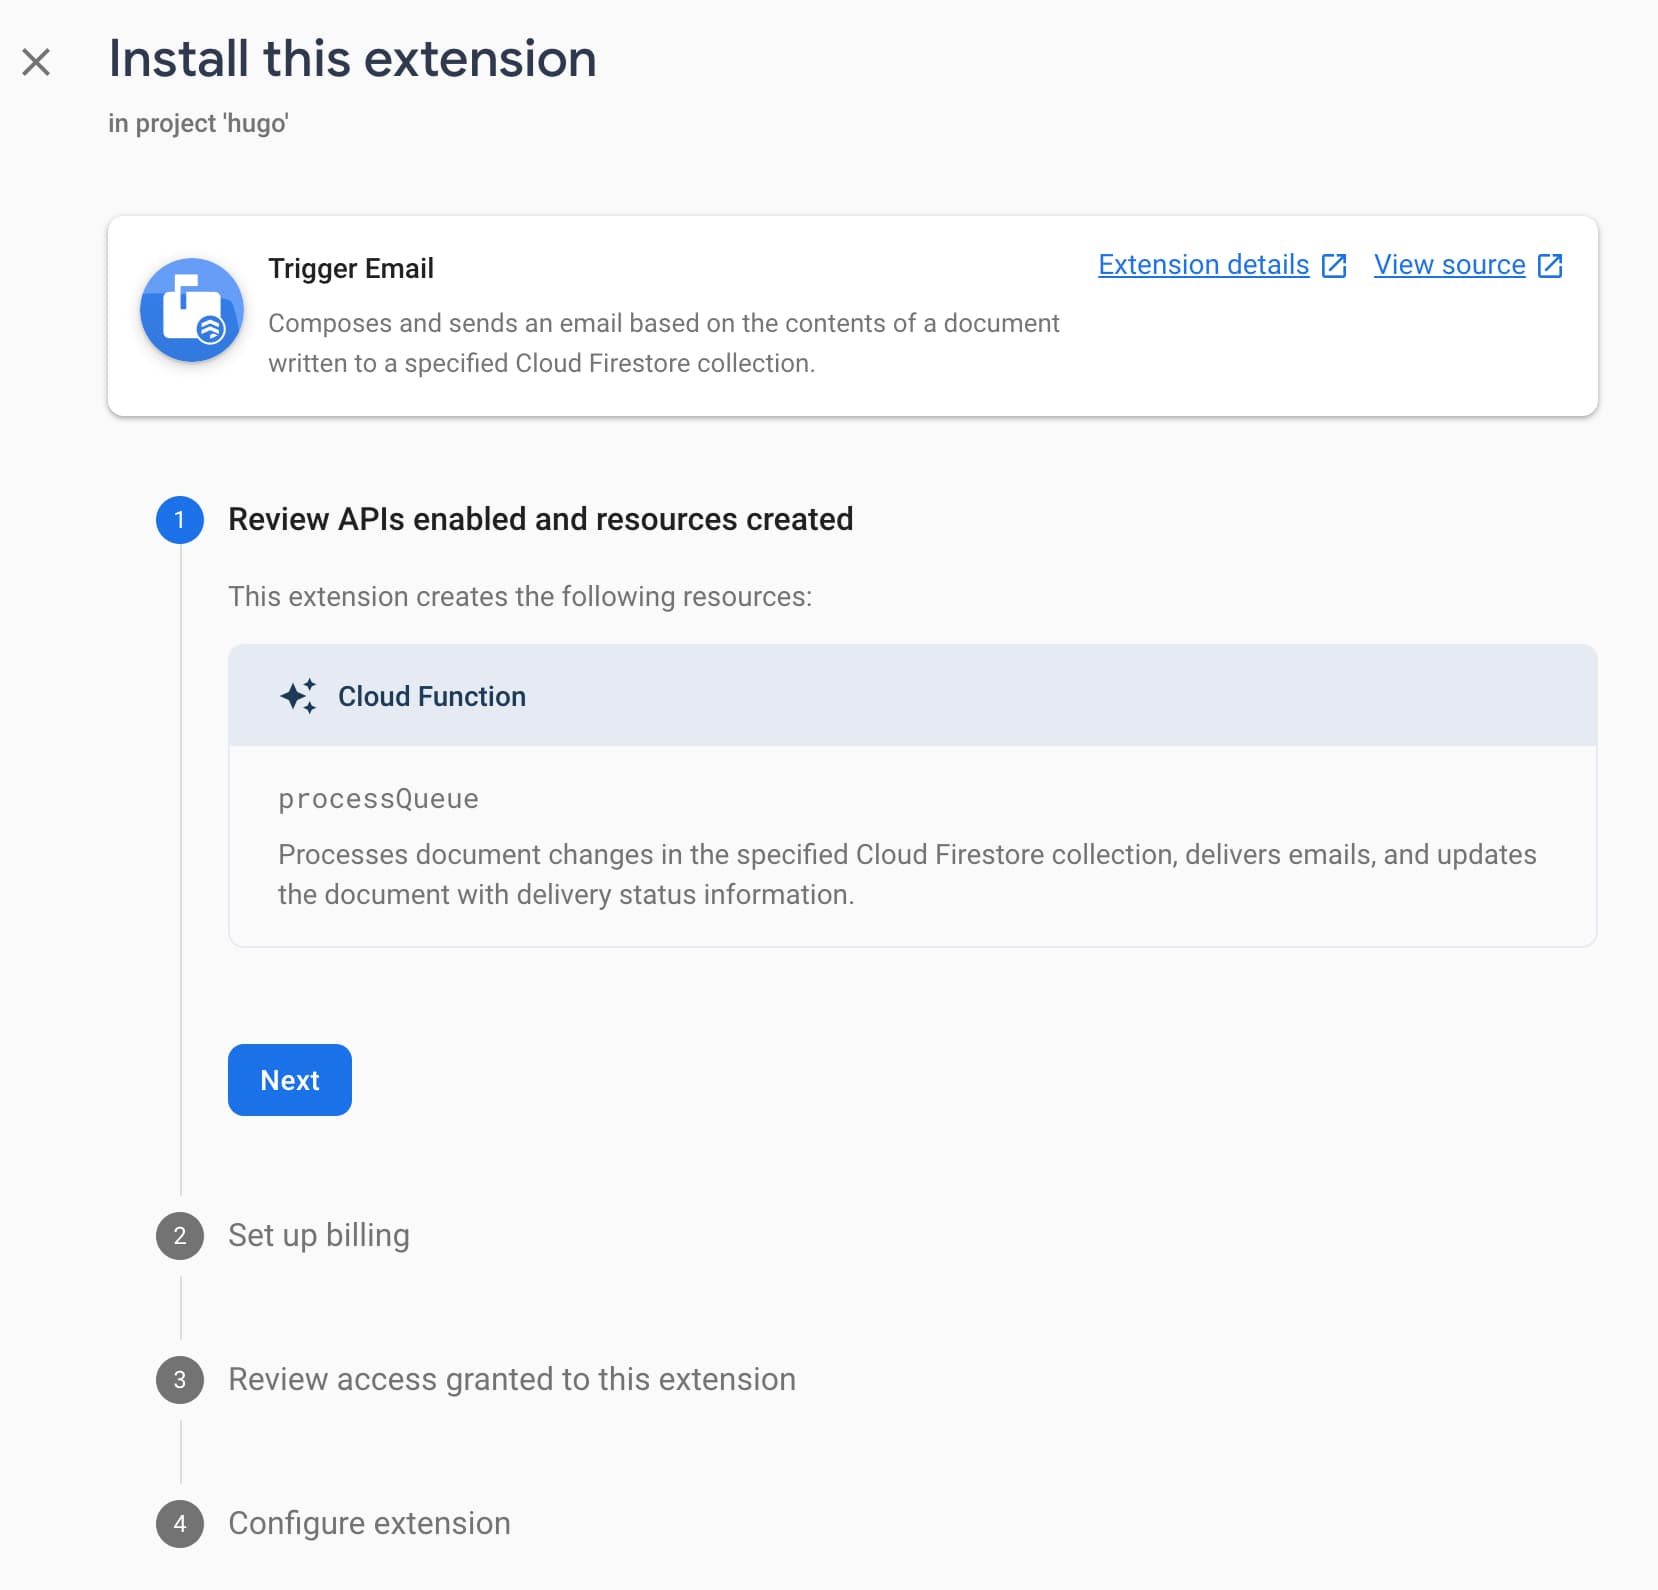
2. Choose "Install" of the Trigger Email card. Or choose "Learn more" to get a full overview of the extension.
3. You'll find yourself at the 4-step wizard. You can view the function's source code if you're curious. The important parts of this wizard are setting up billing (meaning if you're in the Spark plan you need to upgrade to the Blaze plan) granting access to the email function, and configuring the extension (see step #4).
4. Configuring the extension requires you to have an email provider such as Sendgrid, Mailgun, or Postmark. At your email provider get the SMTP URI. This usually contains the providers domain and API key. Once you have the SMTP URI from your provider, insert it into the field SMTP connection URI. If you run into trouble, so through your providers documentation.
Next, set the email document collection where you'll be writing your emails to send (most people just use "mail"). Don't worry about creating the "mail" collection ahead of time. It will automatically be created the first time you write to it.
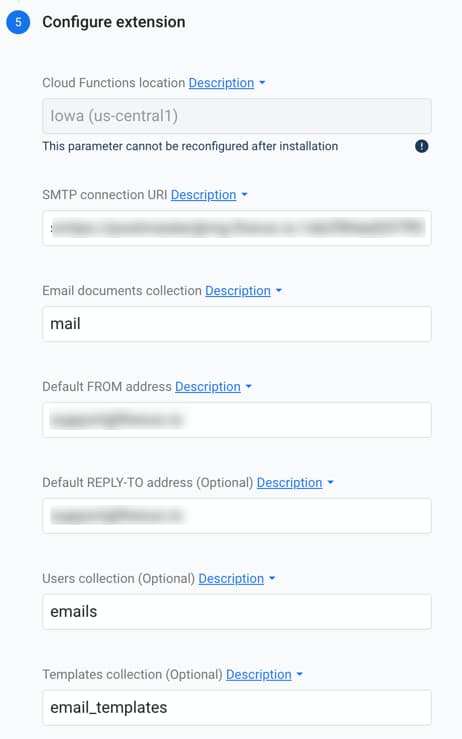
You also need to set your FROM email and REPLY-TO emails addresses.
Quick tip: the latest version of Email Trigger function allows you to specify a From name such as "John Smith." Simply use this format in the FROM field:
John Smith <[email protected]>
Finally, you can optionally give a Users Collection or a Template Collection.
User Collection: A collection of documents keyed by user UID. If thetoUids,ccUids, and/orbccUidsrecipient options are used in the added email document, this extension delivers email to the
Template Collection: A collection of email templates keyed by name. This extension can render an email using a Handlebar template, if the template is specified in the added email document.
We will talk more about the template collection later. Also see below in the reference section for the available fields.
And that is it. Your Trigger Email is setup.
Send Your First Email
Now it is time to send your first email. Let's start with a simple text/html email. We will be giving the example from the server-side or Cloud Function.
admin.firestore().collection('mail').add({
  to: '[email protected]',
  message: {
    subject: 'Hello from Firebase!',
    text: 'This is the plaintext section of the email body.',
    html: 'This is the <code>HTML</code> section of the email body.',
  }
}).then(() => console.log('Queued email for delivery!'));
In this example, we store our email in the "mail" collection as an object containing the "to" string (or array if multiple emails) and "message" object that contains the email subject and HTML content.
And once your store your email in the collection, you're done. The Trigger Email Cloud Function will pick up the email, processes it, and send it to your mail provider.
Add a Handlebars Template
Let's take it up a notch and use a Handlebars template, really the best way to go when sending dynamic emails.
- Create your email as a Handlebars template. If you need help, follow a guide.
- Create a new Firestore collection called
email_templatesand a document in the collection calledwelcome. As you can guess, we'll first be sending a welcome email. - Into the Firestore
welcomedocument, create a new String field calledhtmland set the value as the content of your Handlebars template. Also add a second fieldsubjectand set the value to whatever you want the subject of the email to be. You can also use Handlebar expressions in the subject {{ ... }}.

4. Now you're ready to send an email. Here is an example, again on the server-side.
admin.firestore().collection('mail').add({
  to: '[email protected],
  template: {
    name: 'welcome',
    data: {
      fname: 'John',
      msg: 'Welcome to the fun.'
    }
  }
});
The Trigger Email will look for the template welcome and pass in the data object to apply to the Handlebar expressions. And your email is sent.
Email Security
As the Firebase team states:
This extension can be used to trigger email delivery directly from client applications. However, you should carefully control client access to the mail collection to avoid potential abuse (you don’t want users able to send arbitrary emails from your company’s address!).The best way I found is to use templates and only send emails from the server-side. You can write a universal function that takes the UID and template name to restrict who gets the emails and what can be sent.
Thank you for reading. 🙏
Firebase Trigger Email Reference
Available Sender and Recipient Fields
- from: The sender’s email address. If not specified in the document, uses the configured “Default FROM address” parameter.
- replyTo: The reply-to email address. If not specified in the document, uses the configured “Default REPLY-TO address” parameter.
- to: A single recipient email address or an array containing multiple recipient email addresses.
- toUids: An array containing the recipient UIDs.
- cc: A single recipient email address or an array containing multiple recipient email addresses.
- ccUids: An array containing the CC recipient UIDs.
- bcc: A single recipient email address or an array containing multiple recipient email addresses.
- bccUids: An array containing the BCC recipient UIDs.
- headers: An object of additional header fields (for example,
{"X-Custom-Header": "value", "X-Second-Custom-Header": "value"}).
NOTE: The toUids, ccUids, and bccUids options deliver emails based on user UIDs keyed to email addresses within a Cloud Firestore document. To use these recipient options, you need to specify a Cloud Firestore collection for the extension’s “Users collection” parameter. The extension can then read the email field for each UID specified in the toUids, ccUids, and/or bccUids fields.
Template Available Fields
The template document can include any of the following fields:
- subject: A template string for the subject of the email.
- text: A template string for the plaintext content of the email.
- html: A template string for the HTML content of the email.
- amp: A template string for the AMP4EMAIL content of the email.